Creating Stunning Action Figure Dioramas: A Complete DIY Guide
Are you an action figure enthusiast looking to elevate your collection? One of the most rewarding ways to display your figures is through action figure dioramas. These miniature scenes not only enhance the visual appeal of your figures but also allow you to tell a story. In this blog post, we’ll walk you through the steps of creating your own DIY action figure dioramas, showcasing tips, materials needed, and creative ideas.
What Are Action Figure Dioramas?
Action figure dioramas are miniature models that depict a scene featuring action figures. They serve to enhance the presentation of the figures and create a narrative around them. Whether it’s a superhero battle, a historical scene, or a fantasy landscape, dioramas bring your action figures to life, making them more than just collectibles.
Step-by-Step Guide to DIY Action Figure Dioramas
1. Gather Your Materials
Before you start building your diorama, you’ll need to gather materials. Here’s a basic list to get you started:
- Cardboard or foam board as a base
- Modeling clay or plaster for texture
- Paint and paintbrushes
- Scissors or a craft knife
- Glue (hot glue or white glue)
- Various miniatures and props (trees, rocks, furniture, etc.)
- Your action figures
2. Choose a Theme and Story
Every good diorama starts with a theme. Decide what story you want to tell. Here are some ideas:
- A superhero showdown in a cityscape
- A fantasy creature battling in a mystical forest
- A historic battle scene from ancient times
Your theme will guide your choice of materials and the layout of your diorama.
3. Create a Base
Start by cutting a piece of cardboard or foam board to serve as the base of your diorama. The size of the base will depend on how many figures you plan to display and the complexity of your scene. Once cut, you can paint the base with colors that suit your theme – greens for a forest, grey for an urban scene, etc.
4. Add Textures and Details
To create depth and realism, add textures to your base. Here are some methods:
- Use modeling clay or plaster to create uneven ground and other elevations.
- Apply sand or dirt for a more natural look.
- Paint different layers to simulate water, mud, or roads.
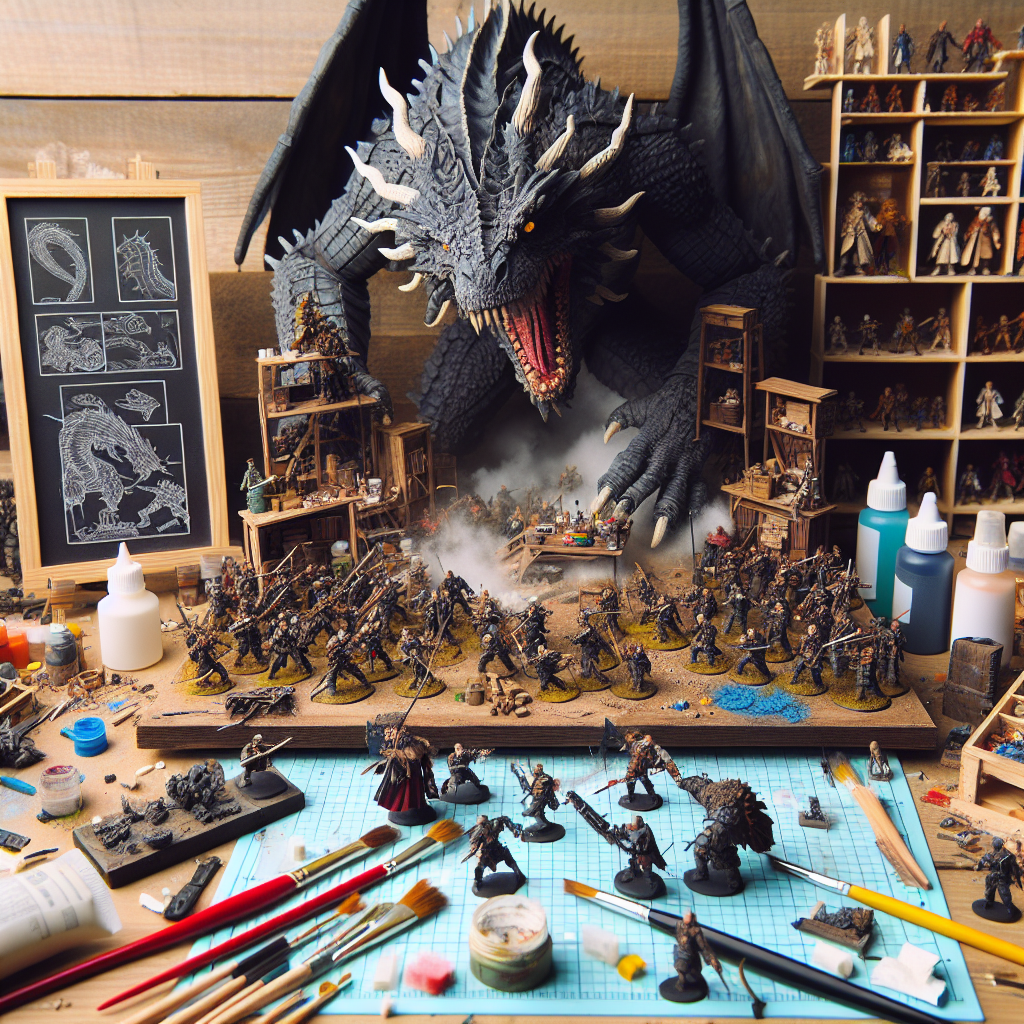
5. Arrange Your Figures and Props
Before gluing anything down, arrange your action figures and props on the base. This will help you visualize the layout and storytelling. Try different poses and positions to see what looks best. Once satisfied, carefully glue everything in place.

6. Final Touches
To make your diorama more dynamic, consider adding final touches like:
- Lighting – small LED lights can add an awesome glow.
- Additional smaller props – tiny animals, vehicles, or weapons.
- Background scenery – a painted backdrop or additional layers for depth.
Tips for Successful Diorama Making
- Be creative: Use unconventional materials. Things like bottle caps, fabric, and even discarded toys can be repurposed for your scene.
- Take your time: Rushed work can lead to a lackluster diorama. Allow yourself time to think through the design and execution.
- Learn from others: Join forums or social media groups dedicated to action figure dioramas for inspiration and advice.
Showcase Your Work
Once you’ve completed your diorama, think about how to showcase it. A well-lit area, perhaps a shelf or display case, will highlight your hard work. Take photos to share with friends or on your social media to show off your creativity.
Conclusion
Creating DIY action figure dioramas is a fantastic way to merge creativity with your passion for collecting action figures. By following the steps outlined in this guide, you’ll be able to craft engaging and visually stunning scenes that bring your figures to life. Remember to have fun during the process and let your imagination run wild.
Now, gather your materials and start creating your very own action figure world!